Euro Fishing Rig
I have no business writing about euro nymphing for beginners, other than I tried the technique. And I liked it. I’m an old school fly fisher – I fish nymphs with a strike indicator and two flies, the last fly tied on the bend of the hook of the first.
I might add a split shot above the first fly if I need to get the nymph into the hot zone.However, at the urging of our one listeners, I decided to give euro-nymphing a try. At the end of this post, I offer up a three resources, including a four-minute overview video that I found on the technique.I thought you might benefit from five basics that I’ve learned from my short journey. Start out using your existing rod.With euro nymphing, the recommendation is to purchase a longer rod. And for sure, you need to purchase one if you plan to get serious about the technique. Euro-nymphing rods are longer, between 10 to 11 feet, and you generally purchase the rods in a 2 or 3 weight.Initially, I thought, “Hey, my 9 foot, 6 weight should work.
Feb 01, 2018 More European-Style Fly Fishing Tips with Lance Egan - Duration: 20:58. KSL Outdoors 22,760 views. Fresh Idea For Setting Up a Double Nymph Rig! - Duration: 6:46. Red's Fly Shop 108,024 views. Euro style nymphing is a style of fly fishing that that can be generally characterized as using heavy weighted flies attached to long leaders, with the purpose of maintaining a tight line, enabling constant contact with fly and naturally drifting it through fast currents.
Why don’t I try euro nymphing first? One or two feet can’t make that much difference, right? If I like it, then I’ll purchase a new rod.”Now that I own a euro-nymphing rod (10 foot, 3 weight), I realize how lousy my regular rod was for this technique.However, I caught quite a few fish on my regular rod using the euro technique. One day in Montana, I caught eight browns in about 45 minutes while Steve and a friend sat along the bank and ate lunch.So you may want to try out euro nymphing with your main rod, just to see if you think you’ll like the different way of nymph fishing. Once you’re all in, though, you definitely need to pick up a euro rod.Just so you know: I picked up an “Echo” euro nymphing rod for about $250. One of the top rods on the market (at least by way of reviews) is the Sage ESN at around $900.
I’m too lousy of a euro-nympher to appreciate the nuance of a $900 rod, so I went with the Echo at the recommendation of a friend. You’ll need a different kind of leader.With euro-nymphing, not only is the rod different, the tackle is different.I purchased a Rio, 11-foot leader, but frankly, any brand works. Don’t get side-tracked by which is the better brand. The euro leader is longer than a traditional leader.
The 11-foot leader is basically 9 feet of a tapered leader with two feet of “indicator material” or “sighter” – which is different in color than the opaque white, so you can see it in the water.At the end is a tippet ring. You will tie on additional tippet (and then your flies) on the end of it.
You will need a “sighter” at the end of the leader.A sighter is simply colored material at the end of the leader to which you tie your tippet. You can buy leaders that already have the sighter material attached to it. That’s what I prefer. Other fly fishers purchase the leader and the sighter separately – and then tie the two together.I buy the full euro leader with the sighter material. Life is too short for one more knot to tie.
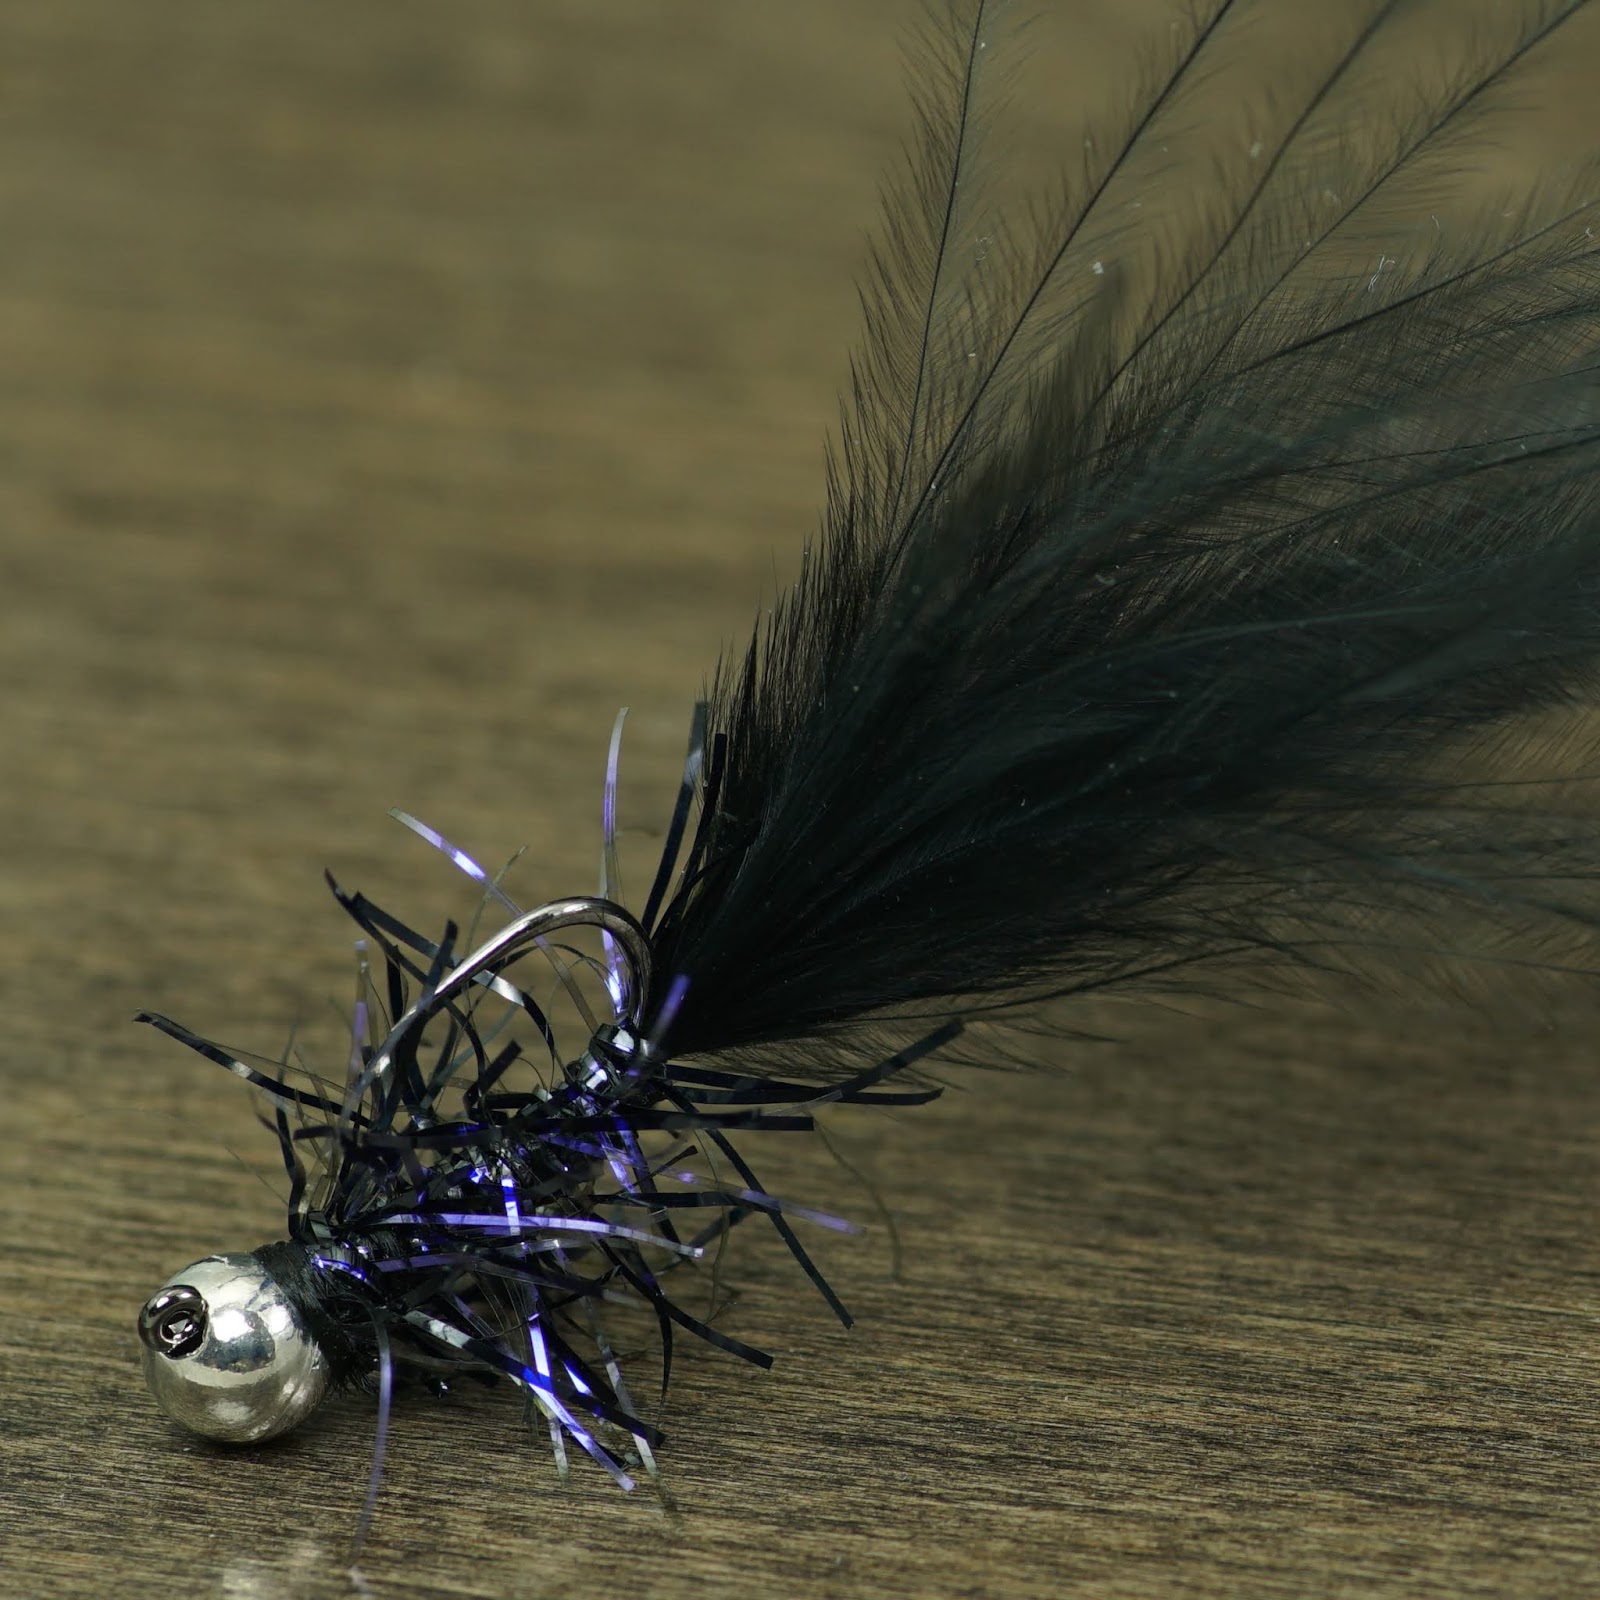
You need weighted nymphs.With euro nymphing, you do not add split shot or weight to get the nymph down into the hot zone or near the bottom of the river. The nymphs themselves are weighted. They are called “tungsten weighted nymphs.” The eyelet is to the side and looks like an old fashioned jig.In fact, they are called “jig nymphs.”I purchased four standard nymphs to start: the rainbow warrior, the pheasant tail, the gold-ribbed hair’s ear, and the prince nymph. I use double-tapered fly line.Many euro nymphers use “level line,” because, frankly, you’re only casting out about as far as the leader, maybe a little farther. I’ve found that euro nymphing works best in smaller rivers with well-defined runs that I can get up on. I’m sure the professionals would mock my lack of expertise, but my longest casts tend to be fifteen, maybe twenty feet.In general, the fly line takes on a lesser role in euro nymphing.The one tip I took away from a book I read (the one listed below) is to use double-tapered line.
That way, I can switch to a dry fly rig without having to carry two rods or having to run back to the truck to grab my regular rod. You can’t sling dry flies with level line. Three resourcesThe videos, books, and articles on euro-nymphing for beginners are legion. Here are just three:Categories Tags.
You nailed it with not needing a new rod to try Euro nymphing. Leaders will be the most important. If you are using thin euro nymphing fly line you can start with a leader that is 12′ of 20lbs butt section. I recommend Maxima Chameleon.
3′ of 12lbs Amnesia and 18″ of sighter material to a tippet ring. Then 2′ – 5′ of 4x-7x tippet depending on depth of water. If using Regular fly line then double or triple the length of butt section. This will keep your fly line on the reel and prevent sag. Sag is the enemy when Euro nymphing, you lose contact with your flies and lose strike detection. Build the remainder of the leader as mentioned above. I could go on and on but I think starting with the leader is very important.As for other references check outTroutbitten.comDevon Olson and Lance Eagan ( Members of Team USA fly fishing team also have videos on Vimeo for a small fee called Modern Nymphing the basics and Modern Nymphing Elevated.

They also have a book titled Tactical Fly Fishing, Lessons learned from Competition for all anglers.Good luck and have fun.
Forward
Choosing a line and leader setup is not always simple if you’re just getting started with euro nymphing. While I recommend considering a specialized nymphing line if you’re just getting started, a full mono rig provides many benefits and is a good choice for a number of anglers when using tight-line techniques.
In this post I’ll describe the mono rig I use in most conditions and how to construct it. Overall I strive to keep things simple and this mono rig’s construction is straightforward and easy to maintain, not to mention fairly cost effective.
Keep in mind there are a ton of mono rig formulas out there today and you’ll need to choose what works best for you (trial and error). Just google “mono rig euro nymphing” or something similar and you should find a number of other examples on the internet. Also, books such as George Daniel’s Dynamic Nymphing are a good source for leader and rig construction.
The Mono Rig
The diagram below illustrates the mono rig described in this post. Before diving into the construction, note that while the line below the tippet ring in this diagram may be replaced frequently, the sighter, mono and backing generally are not.
Also note that with most fly fishing reels, you will encounter line pull-through when fishing this full mono rig due to the thinness of the mono line slipping through the reel frame. Luckily, there’s a fairly easy solution.
Mono Rig Construction Materials
A few minor tools / items are needed for constructing this mono rig. While the UV Knot Sense is optional, I recommend it since it will smooth out knots in the rig and provide some added sense of security.
- Fly line backing of your choice. Here the backing serves the same purpose it does with your traditional floating fly line.
- Monofilament line that will run from the backing down to the sighter. Here we use 15 lb Maxima Chameleon.
- A glove for your non-reeling hand. This glove is used to add tension to the line when spooling it. Without a glove your finger will get hot and potentially burn.
- (Optional) UV Knot Sense or similar and UV light for curing.
- Nippers or small scissors for cutting line.
Note that the choice of monofilament (brand, thickness, color, etc.) used in the mono rig does matter. For more details on monofilament selection, see the article on euro nymphing lines and mono rigs.
Constructing the Mono Rig
This section covers the actual construction of the mono rig for euro nymphing.
For this construction “line to line” knots are used to attach the monofilament line and backing together. I prefer to keep it simple and use the Surgeon’s Join Knot (aka Double Surgeons) for my line to line connections, but use whatever you feel comfortable with. Keep in mind that the knot between the mono and the backing will only be “in the guides” when a fish pulls you down to backing.
When tying the knots, make sure they are tight before clipping the tag line back to the knot. Sometimes this requires using gloves or tools to tightly pull the ends of the line in the knot to ensure its tight.
- Connect the backing to your fly reel using your favorite technique. Some people use an Arbor Knot. For full details you can also see this video.
- Tightly and evenly spool on about 100′ of backing onto the fly reel. For this step I like to use a glove on my non-reeling hand that adds tension to the backing as I spool it.
- Use a line to line knot to connect the backing spooled to your fly reel, the spool of 15lb monofilament. Make sure the knot is tight and cut the tag end close.
- (Optional) Treat the mono side of the knot with UV Knot Sense.
- Tightly and evenly spool on about 100′ – 150′ of the 15lb mono onto the fly reel. For this step I like to use a glove on my non-reeling hand that adds tension to the mono as I spool it.
- Follow the steps in the Building a Euro Nymphing Sighter article to create and attach a sighter to the end of the mono you just spooled onto the fly reel.
Maintaining the Mono Rig
Inevitably your mono rig will get damaged if you spend enough hours on the river. For example a fish may wrap your rig around a rock causing some loss of integrity to the mono line above the euro nymphing sighter. This section has a few maintenance tips based on my experience with mono rigs.
If your mono line becomes damaged, it’s easy enough to just cut your mono line back (remove the bad end portion) and reattach the sighter. For that reason it’s convenient to spool at least 100′ of mono onto the reel; allowing you to cut sections back if they become old or damaged.
While I have found the 15lb Maxima Chameleon to withstand a lot of abuse, in general I cut my mono rigs back each year (or more frequently, depending how often I euro nymph) and reattach a new sighter. This helps ensure the line is fresh and has had minimal UV exposure to the sun.
To “refresh” my mono line I just spool off about 20′ – 30′ of mono from my reel, cut it off and throw the segment away. Then just attach a new sighter the end of the mono and the rig is ready for the year.
If you “refresh” your mono line enough times you will start to get close to the backing. At this point you basically need to rebuild the mono section by cutting it off from the backing and tying/spooling another 100′ or more of mono.
Summary
While a full mono rig maybe slightly more complicated than specialized euro nymphing line, building a full mono rig for euro nymphing is cost effective and easy to maintain. Simply spool on 100′ or more of choice monofilament line from the backing of your fly reel down to a euro nymphing sighter with a tippet ring and then run your tippet + files off the ring. If the mono becomes damaged, it can be cut back and a new euro nymphing sighter attached.
Related Posts
- Pros and Cons of Euro Nymphing Lines and Mono Rigs
Pros and cons of speciality euro nymphing lines and mono rigs
- Building a Euro Nymphing Sighter
How to build a euro nymphing sighter using Amnesia monofilament line
- Euro nymphing rod manufacturers
A list of manufacturers that build fly rods catering to euro nymphing techniques.
- Euro Nymphing; not just for bead head nymphs
Euro nymphing unweighted flies is easy when you add a split shot. Here's how.